


|

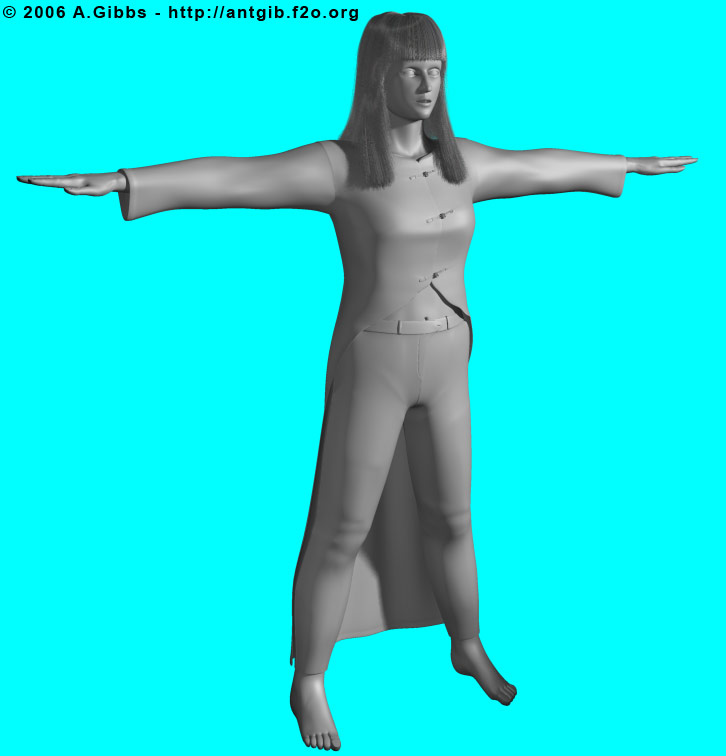
How to Build a Believable Human Character - Head Template
Step 1 |
|
Setup the reference images onto two plane objects and then "Freeze" them, making sure that the "Show Frozen in Gray" Display Properties is not checked. One thing to note is that this time around I made the plane objects pretty large in terms of unit size. I used something around 300 units square and then zoomed out a fair bit.
The main reason for this is so that the resulting model will be a large enough scale that possible future rigging/animation set-ups will work. For example, I tried Reactor dynamics set-up on my last model for the ear-rings. While I could get "normal" size test objects to work, once they got scaled down to the size of the model, the overall values just became too small to simulate reliably. |
Step 2 |
|
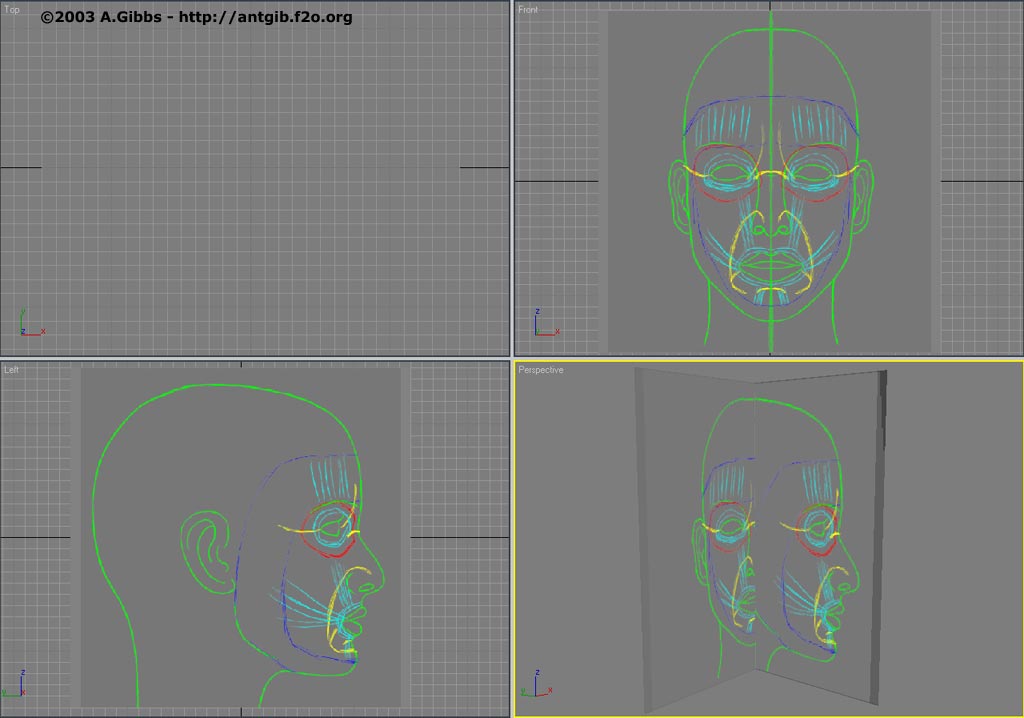
While most will start modeling a head from a basic cube converted to an editable poly, I tend to do things a little different (something that people who know me can testify to).
I start by using straight line splines to outline the major face components and edge loops, like the eyes, mouth and forehead/jaw. This is much like patch modeling but without the initial smooth surface. I do this so that I can focus on getting just the major sections of the face correct and to make sure that it is all four sided and flowing in the right direction.
|
Step 3 |
|
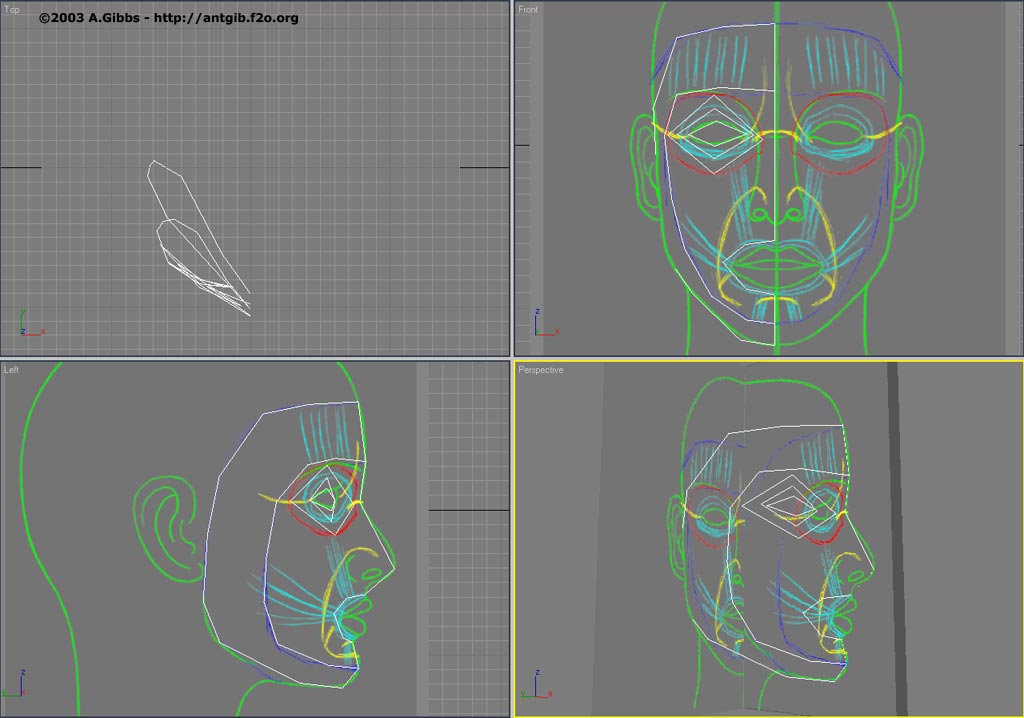
Continue to build up more spline outlines, including creating the cross-section connecting ones that start to define 4 sided ploys. By this time it is just all one spline as I move vertices and create extra spline segments as needed. Make sure that you have vertex snap turned on and be careful not to move the center line off the central symmetry axis. It is still all about making a basic shape (with animation in mind). The major side and back lines of the head have also been added, which will now slowly all be filled in. |
Step 4 |
|
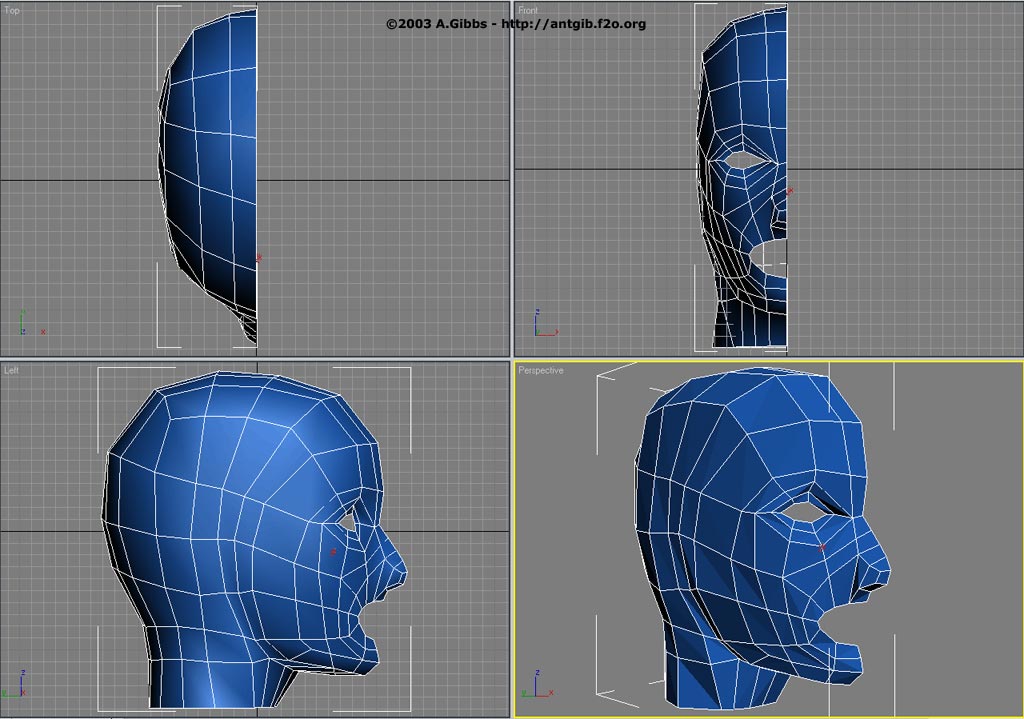
By applying a Surface modifier to the spline, you can start to see how the basic outline of the head is taking shape. Also clearly visable are the major edge loops (eye socket, mouth, forehead/jaw line). |
Step 5 |
|
A complete (apart from the lips) half of the basic outline for the head. While a bit more detail needs to be added, I will leave that till I convert to Editable Poly. For now, the last thing I will do in spline mode is to add the basic shape of the lips and a bit of the inner mouth. |
| |
|
|
|
|