


|

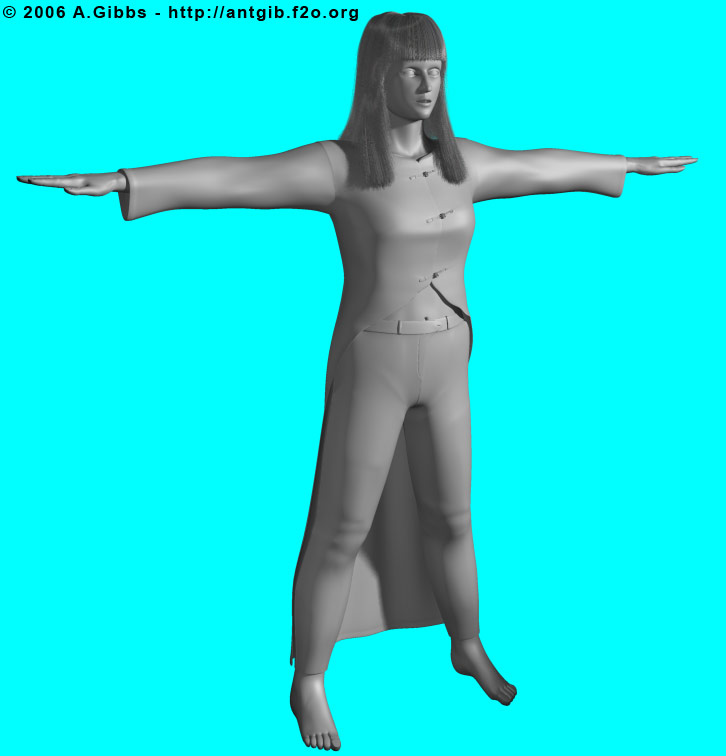
How to Build a Believable Human Character - Head Template
Step 6 |
|
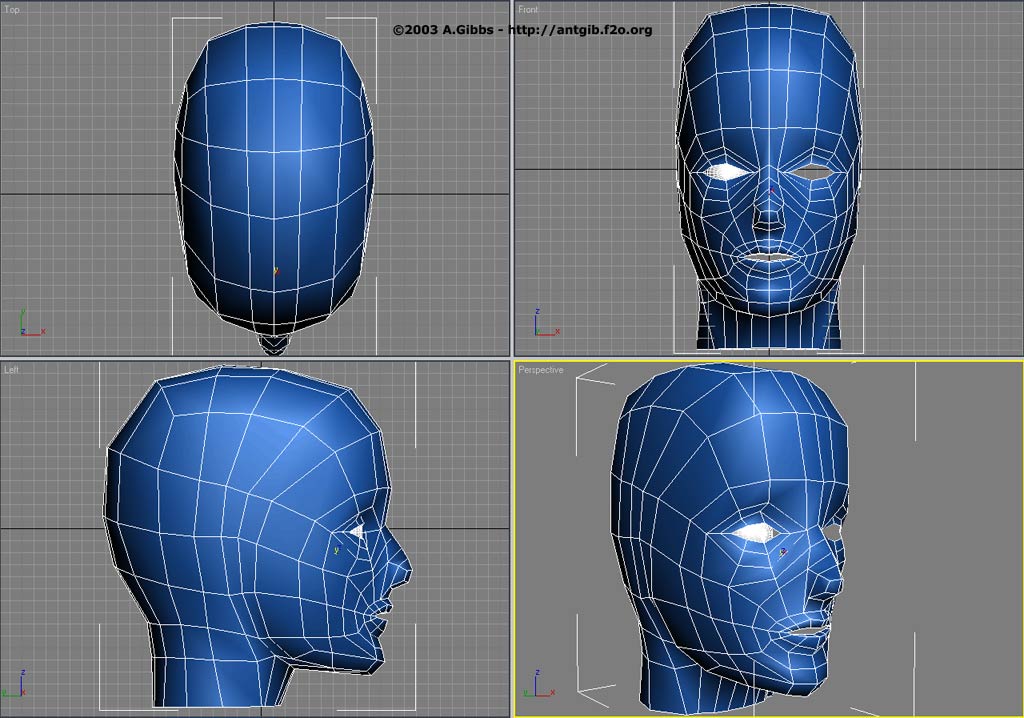
Lips have now been added, and with a Symmetry modifier, a basic full face can be seen. At this point, things can start to look a bit wrong, the normal front/side views make for a distorted image once viewed in perspective. Hence from now on most adjustments will generally be done in the perspective viewport, so don't be surprised if you need to squash or stretch the whole hole so that it looks right.
Also you may find out that parts of the head are very round, like the forehead or the chin, at this stage one needs to start to flatten out parts and as you can see, I added a sphere for the eye socket, in order to get that basic shape more accurate. |
Step 7 |
|
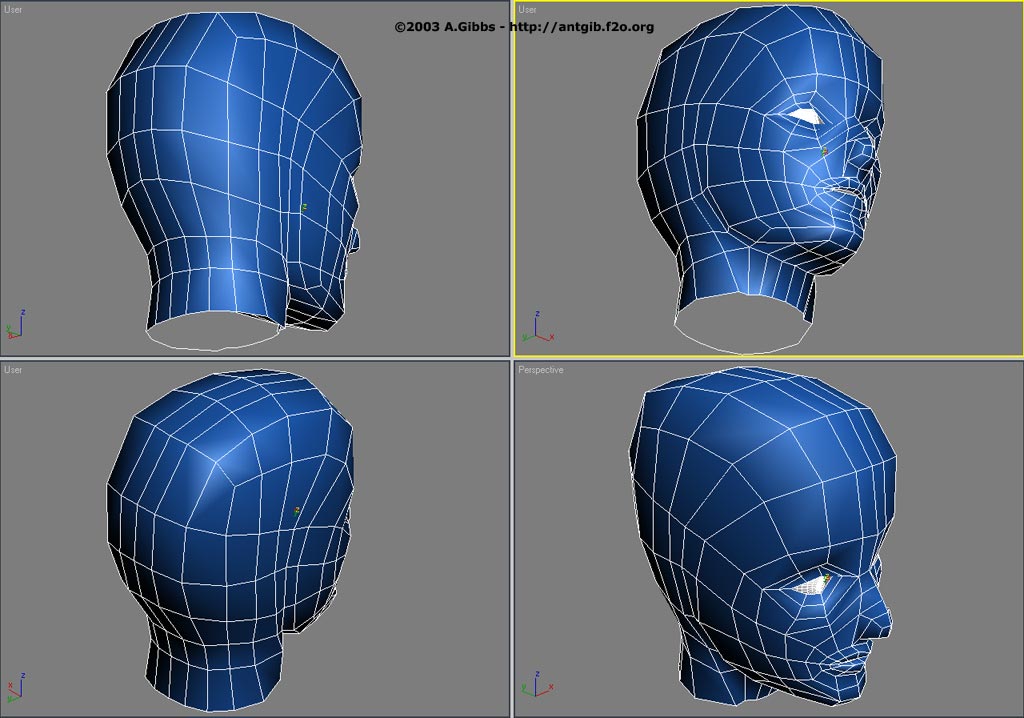
This is the same screen grab as Step 6, but with a meshsmooth modifier applied. Smoothing the model is a good idea, since it will "shrink" the overall shape a bit, so this gives you a good idea of exactly how things are looking. At this stage, spend a bit of time, (using real-life photo reference) and shape the head into an generally standard looking face. Try not to add any more polys, etc, the idea here is to make a template that can then be used for future, more detailed heads. |
Step 8 |
|
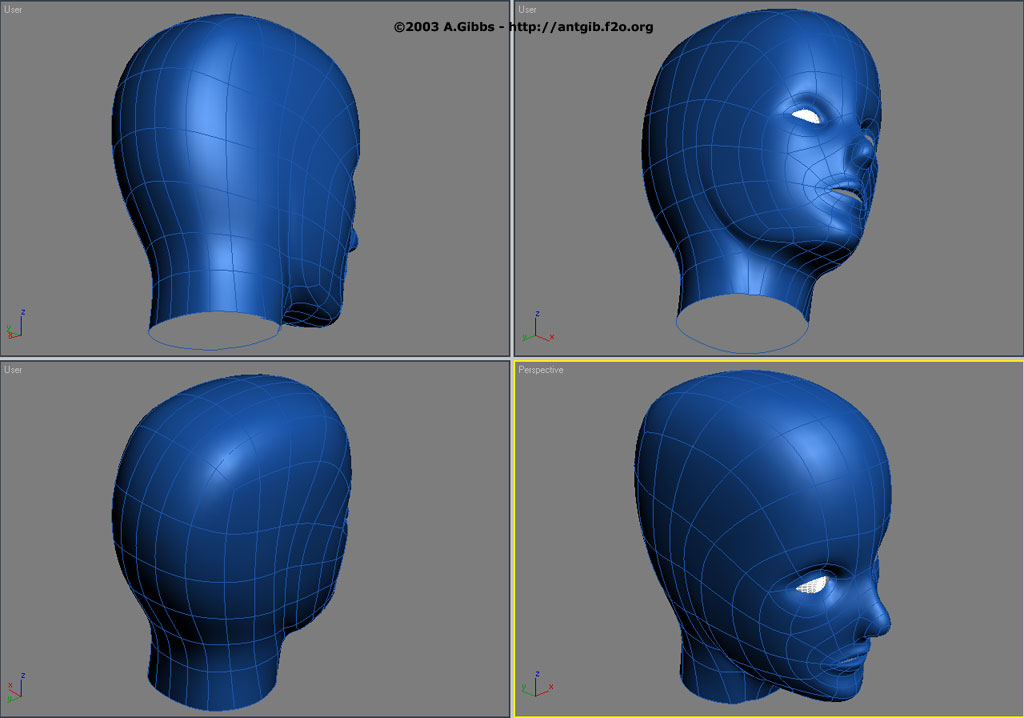
The basically final head template, shown in low poly mode. |
Step 9 |
|
The same final head, shown in meshsmooth. |
| |
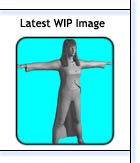
| At this point we will leave the head and move on to the body. Once that is done, we will combine the two together and make any final adjustments for a complete template model. |
| |
|
|
|
|