


|

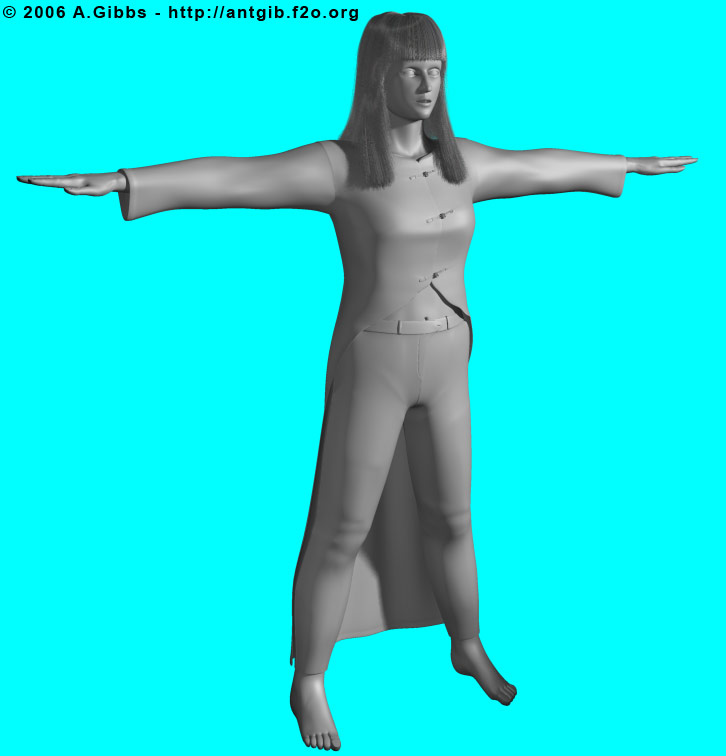
How to Build a Believable Human Character - Body Template
Step 7
|
|
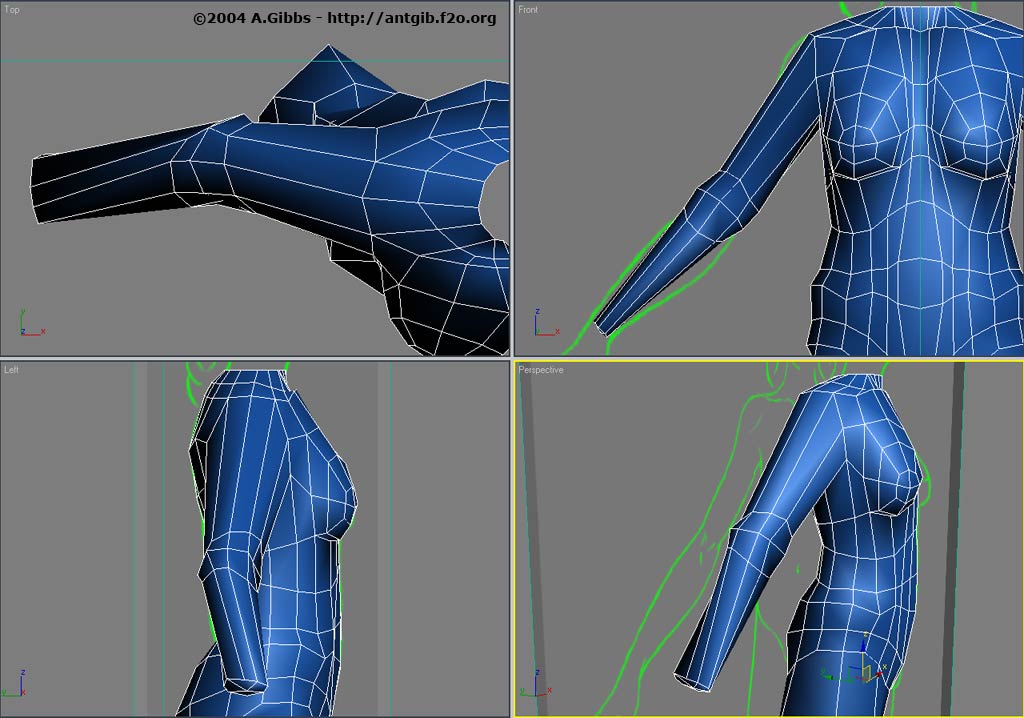
To make things a little easier, before I extruded the arm out, I moved
the front referance image back a bit, so that the whole model was now in front of
it. Much like the leg, I picked the four polygons that sit around the arm area and
extruded them out to about the length of the arm. |
Step 8 |
|
There are a number of things to note here. First, after extruding the
arm out, the end vertices were moved down to the location of the wrist. These
vertices are then scaled and move to a more flat and wide shape. At this point 3
more cross sections are added to outline the elbow. Notice how the planes of the
lower arm are partly twisted around. Hold out your own arm and point the palm
downward and see how the lower arm twists at the elbow. You need to model this
twist in so that when the character is rigged, the arm will look right as it is
later moved and twisted. Again, just like the knee, the edge loops around the
elbow are closer together at the back and further apart at the front where the arm
bends in on its self. |
Step 8a |
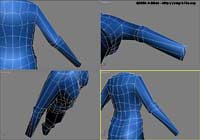 |
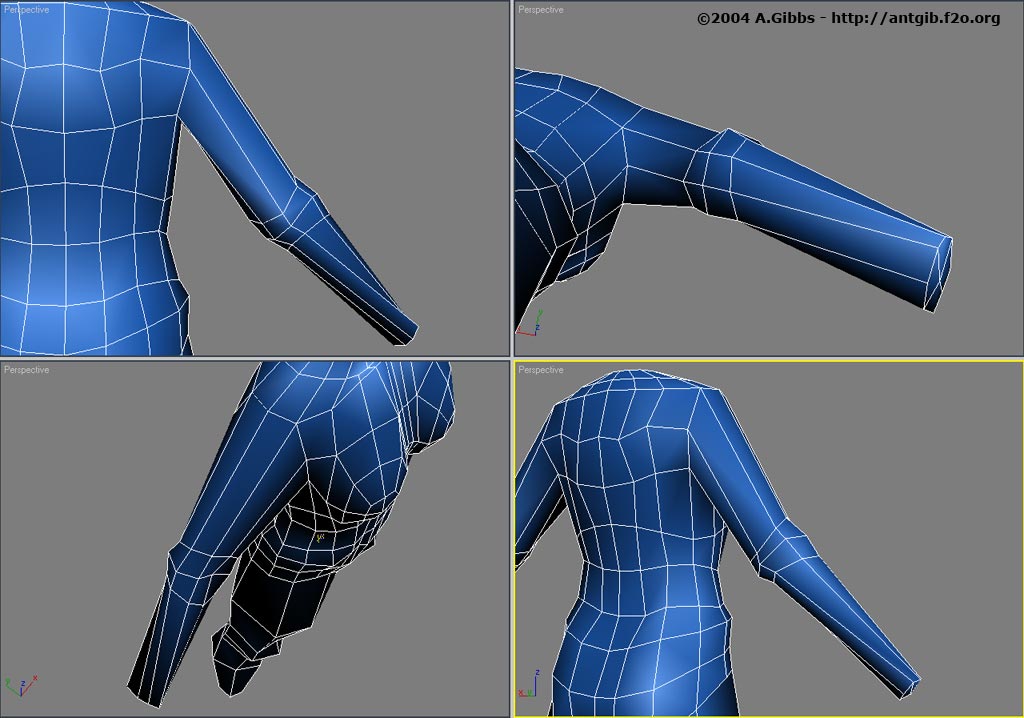
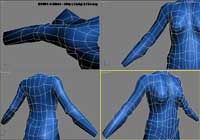
A few more views showing the back and underside of the arm and clearly
showing the twist in the lower arm. Also note that some of the vertices around the
shoulder have been moved around a bit. However there is no need to spend to much
time on the shoulder until another cross-section or two have been added. The lower
arm is already bent inward just a little, as this will better when it comes to
setting up the rigging. |
Step 9 |
 |
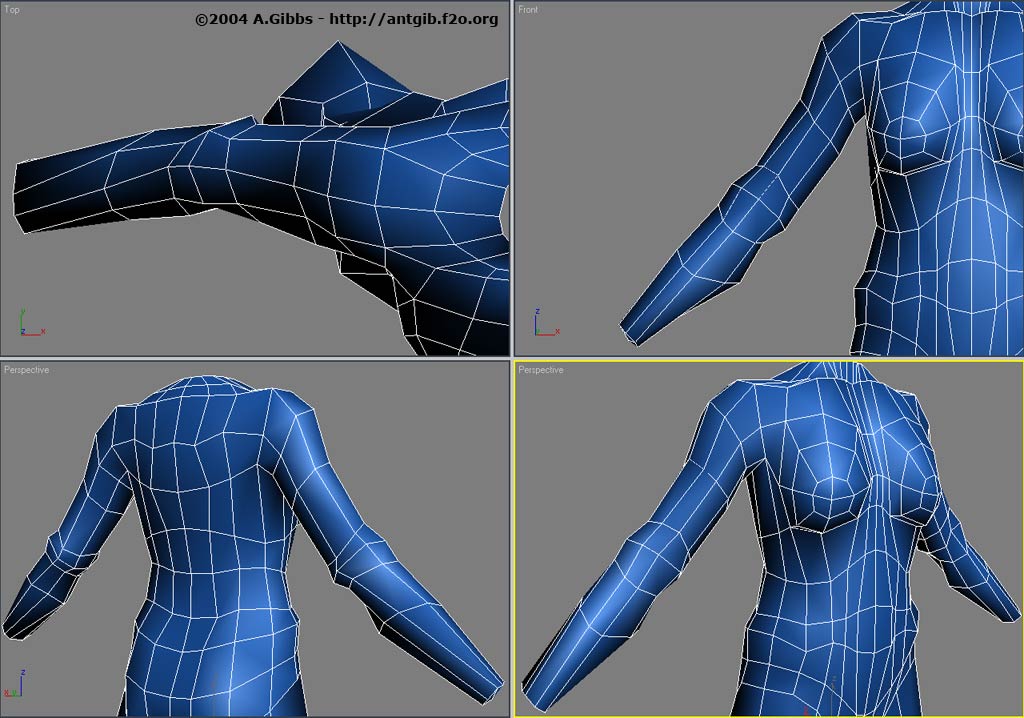
Two more cross-section edge loops have been added to the upper arm to
help define the shoulder area. Some of the existing vertices around the shoulder
are also adjusted to acheive a more acurate shape. One more cross-section was
added to the lower arm, again with the twist. Since the hand is missing at the
moment, there is little to gain in spending to much time on shaping the lower part
of the arm. Other then that, try to position the rest of the vertices so that the
arm is defined as best as possible. Make sure to check some referance images and
even your our arm to get a good shape. Last, remember to view the model with
meshsmooth turned on as the mesh will "shrink' when it is rounded out. |
| |
|
|
|
|