


|

How to Build a Believable Human Character - Adding Detail to the Head
Step 4 |
|
At this stage I had a good look around the model and made a number of adjustments, especially around the mouth and nasual line. Mostly moving the courner of the mouth to the side and back into the face a little. An edge loop on the forhead which runs down the side of the face was moved up and back. While another edge loop from the lower outside eye corner which ran down the front side of the face was moved forward a bit. This creates a bit of open space on the forhead and to the side of the face, thats OK becuase we will be adding more edge loops next. Compared to the previous step, no more edges, vertices or extruded polygons were added. |
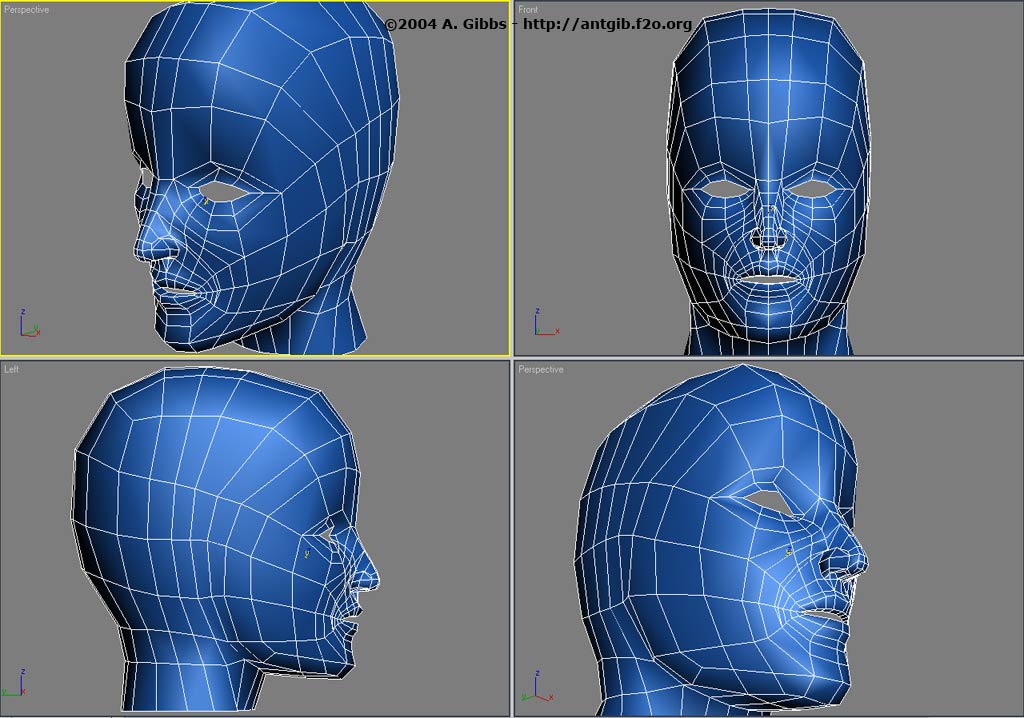
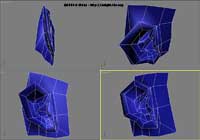
Step 5 |
|
Four new edge loops have been added, those two gaps from the forhead and the lower eye to the side of the face. One was added from the bottom lip to under the chin and another from the top, inside eye to part way up the forhead. For now this loop stops near the top of the head in the middle of an edge. This does of course create a 5 vertex poly, however, it is in an area that will not deform and will generally be covered in hair anyway. Also, it is possible that later on, if an extra edge run is need down the back of the body then this loop can be continued over the head and down the back. To wrap
it up, I extruded back the inside lip edges to close up and create an inside mouth cavity.
|
Step 6 |
 |
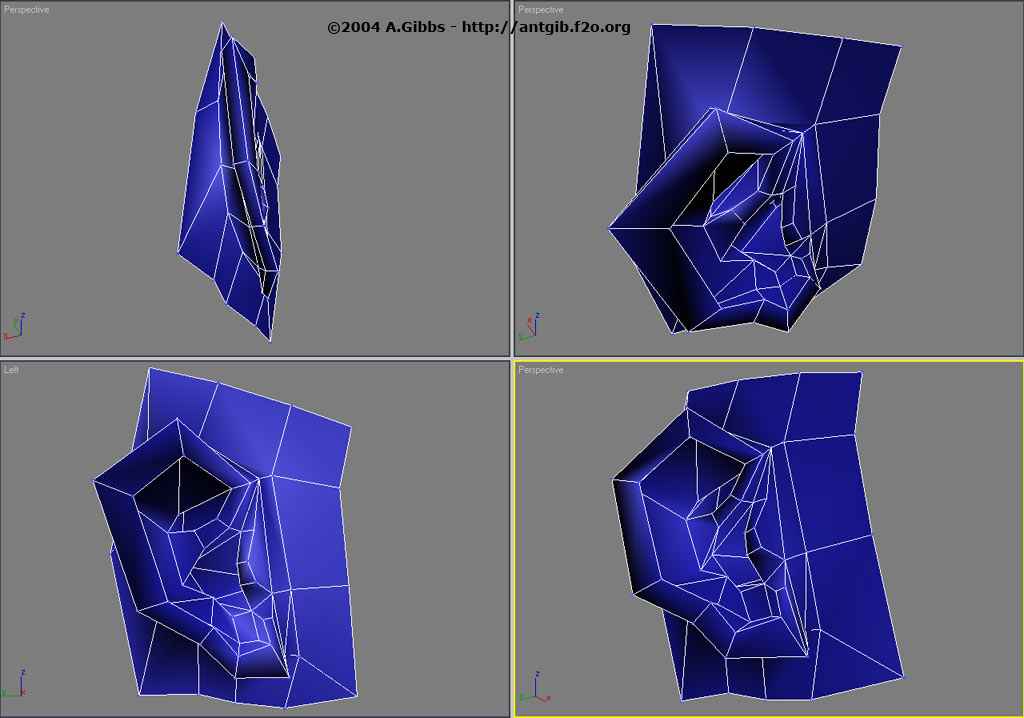
I am going to cheat a little here, however it is a good lesson in how to speed
up the production process. A few heads back I modelled up a fairly good ear. This was
done as a seperate object at around the same size as the head using a simular spline
technique as I used to start the head. This way I was able to layout the basic curves and
shape of the ear and then fill in the details. Once I have an ear done and maybe refined
a bit as part of the total head, I then graft that ear onto any new head. |
| |
|
|
|
|