


|

A Head of Hair - Part 1 (Modelling)
| Page 1 | 2 | 3 |
| Note: All thumbnails will open a new
window with a larger image. |
When it comes to creating 3D characters, few areas of
this endeavour trip people up more then hair. There are generally
four ways to deal with problem of adding hair to the head of your
character.
- No Hair - given the general difficultly involved in 3D hair,
this can be a fairly common solution. It usually results in either
a bald person or one wearing a hat, helmet or something covering
the head.
- Single Mesh - this involves using a single object, shaped to
look like hair and then textured. Very common with any short hair
and ponytails. As long as the texturing/materials are done well,
this method can look good. Its two main disadvantages are that
any animation, other then just rotating with the head, can be
a problem and creating long hair for anything other then a "cartoon"
style really doesn't work.
- Plug-ins - generally the best way to create realistic looking
hair and to have it move based on a physics/dynamics simulation.
Unfortunately there are a few disadvantages to using plug-ins.
First, the hair plug-in tend's not to be included with any base
or standard 3D package and hence must be purchased separately.
In addition it can be very tricky and time consuming to get the
hair looking even reasonable. Plus finally, hair plug-ins consume
large amounts of system resources (RAM) and take an extremely
long time to render regardless of how much other content is in
the frame.
- Mesh Strips - this is what I call a method of creating hair
using a number of plane meshes that are placed over and around
the head and opacity mapped to give the illusion of strands of
hair. While it can still take a bit of time to tweak and get looking
right, since the hair is made of a just a number of mesh objects,
the RAM requirements and render times are much less then a hair
plug-in.
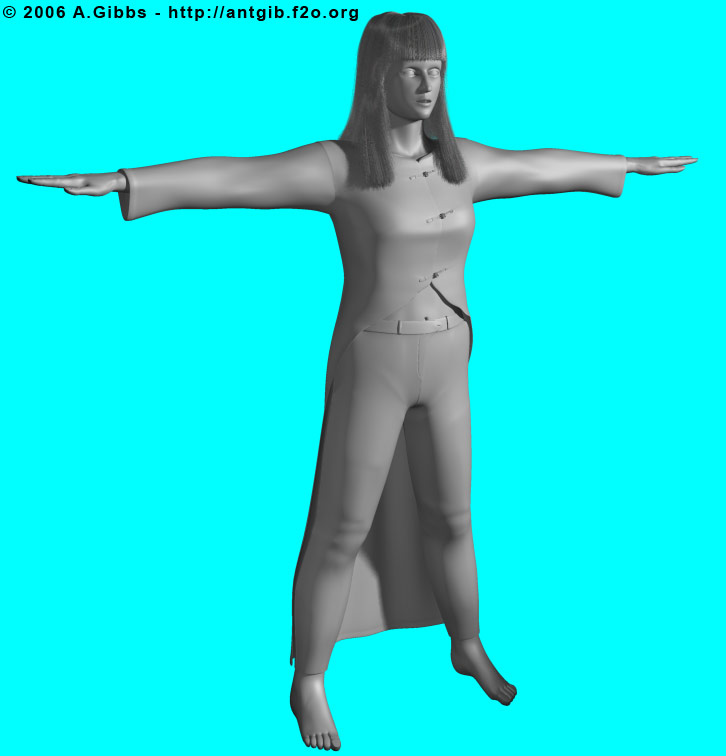
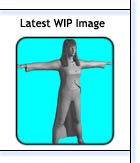
For this tutorial, we are going to use the Mesh Strips method of creating
hair to take our character from bald to having a full head of long
hair. As you can see here.
While I am using 3ds
max 5 to do this, it will work just as well on version 4. Either
way a plug-in called Simcloth
v2.51 will be needed (you will see why in the steps that follow).
This is a free cloth simulator that can be readily downloaded from
the Internet and works with both versions 4 and 5 of 3ds max.
Since creating hair is as much an art as it is a science, any
shown values are to be considered a starting point. Depending on
your exact model, required hair style and simulation calculations,
a fair amount of tweaking and experimenting will be required. |
| Step 1 |
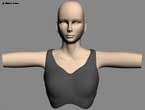
Figure 2 |
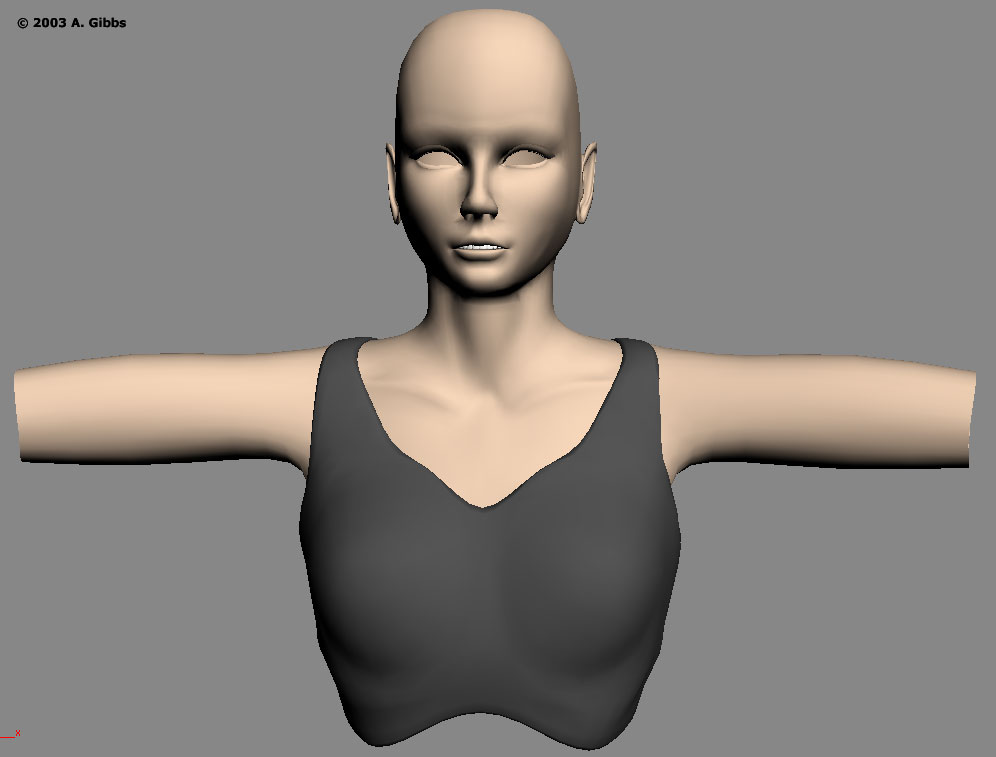
The hair is one of the last major modelling components that you
should add to your character. I find it best to start a new file and
import just the main head/body and upper clothes in. Then using the
mesh editing tools, remove all of the lower body and most of the arms
till you just have the top part of the model that will interact with
the hair (figure 2). As you
can see I also have her top visible and both meshes have a meshsmooth
modifier applied at 1 iteration. The model is then frozen to prevent
accidental selection. |
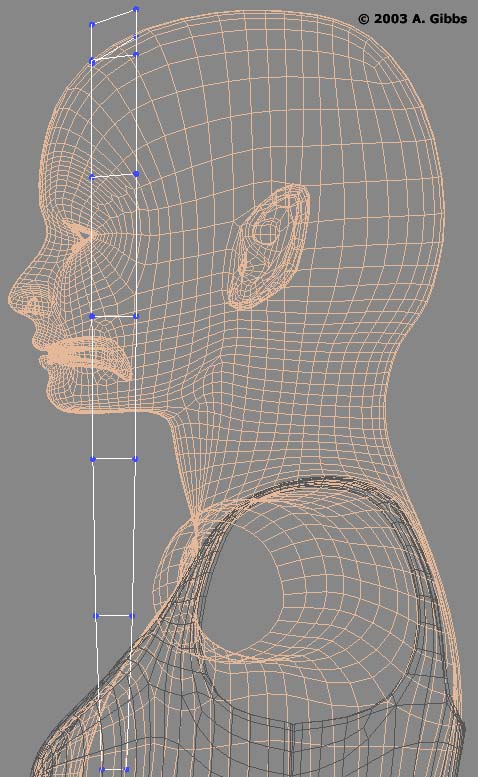
| Step 2 |

Figure 3 |
Create a long, thin plane in either the side or front viewports
with around 6 segments running down its length and make sure to check
Generate Mapping Coords. Convert it to an Editable Poly and shape
it at the end so that it tapers in a bit (figure
3). Since this will be used as the longest part of the hair, it
needs to cover the distance from the top of the head to whatever maximum
hair length you want. The width to use can be a bit tricky, you don't
what it to be too wide, as that tends to create hair that looks like
it is made up of sections of plastic. However, if you make it too
thin, then you start to need just so many strips to cover the head
that it becomes unmanageable. |
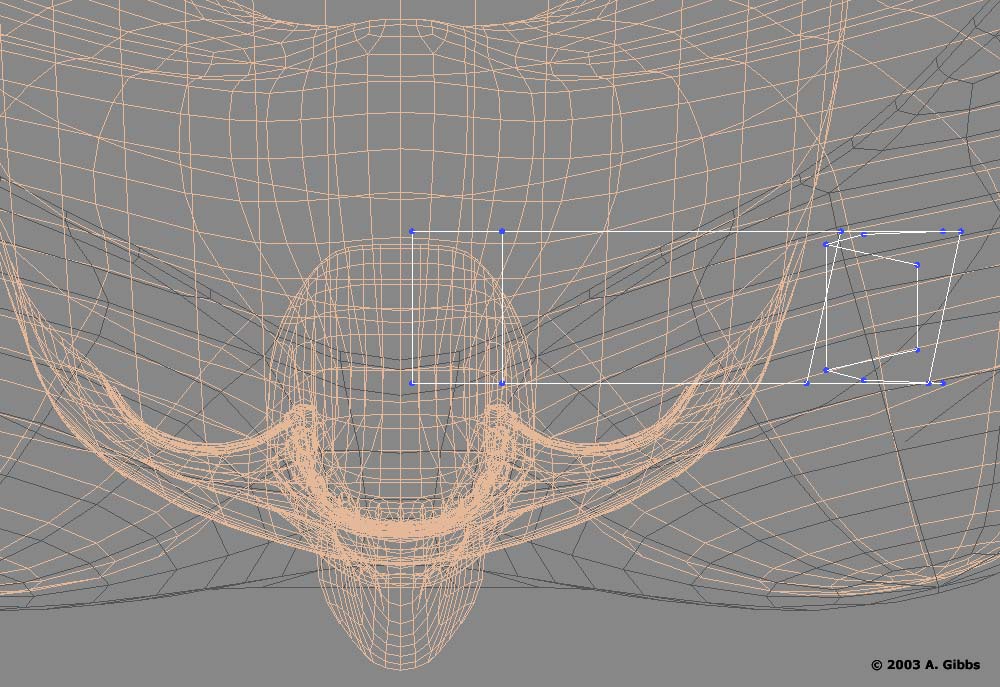
| Step 3 |
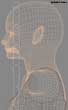
Figure 4a
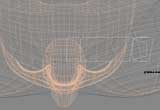
Figure 4b
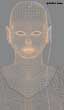
Figure 4c |
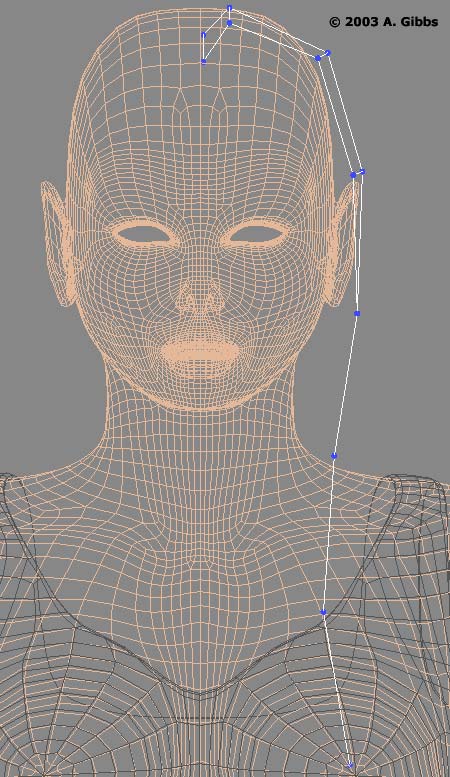
Create a copy of this master hair strip and move it into place at
the side of the head. Then switch to edit vertex mode and start to
position each segment section to come out of the top of the head,
to travelling around the side and then dropping down to the basic
hair length that you want. You can see how I shaped this first hair
strip from the side (figure
4a), top (figure 4b)
and front (figure 4c) views.
Make sure that the top part sits along the centre of the head. Since
the final hair will be smoothed over, you can temporarily apply a
meshsmooth modifier at 2 iterations to see how the basic hair is flowing
and to make sure that it doesn't cut through the upper part of the
head. It's ok that the hair currently cuts into the shoulders. |
| Page 1 | 2 | 3 |
|