


|

A Head of Hair - Part 1 (Modelling)
| Page 1 | 2
| 3 |
| Step 9 |
| |
With all the initial settings done, click the Start Calculation
button under the General rollout. After a bit of time SimCloth will
finish and you can scrub the time slider to see the hair mesh drop
down into position. At this point you have two options, either proceed
to the next step or if you don't like how the "hair" looks on any
frame, clear the simulation, adjust some of the settings and run it
again. |
| Step 10 |
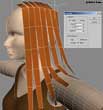
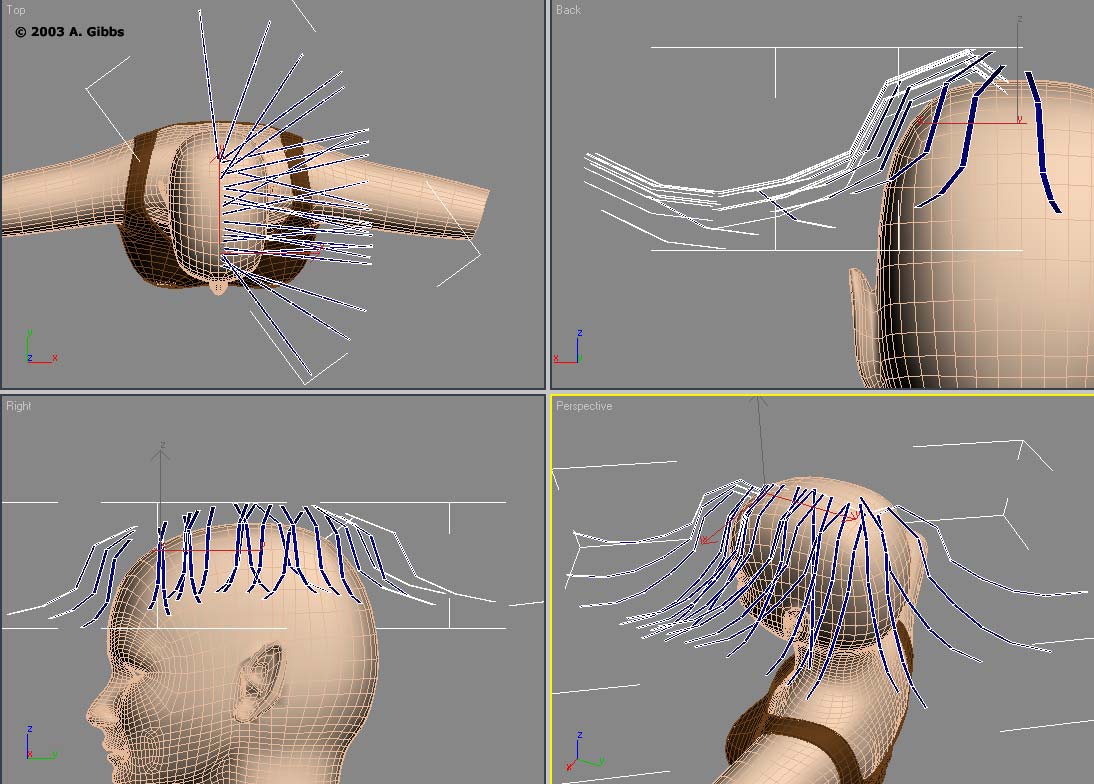
Figure 11 |
Once you find a frame that has the hair mesh mostly how you want
it, select the hair mesh and while on that frame use the Snapshot
tool to make a single mesh copy of the hair (figure
11). At this stage, you can hide the hair mesh that had SimCloth
and while back on frame 0, do any little vertex moving on the snapshot
mesh to make it look better. One thing that you may notice is that
the deflection and intersection calculations were not totally accurate
and ends of some mesh strips in fact stick into the shoulder area
of the head mesh. These can also be pulled back out into a better
shape. |
| Step 11 |

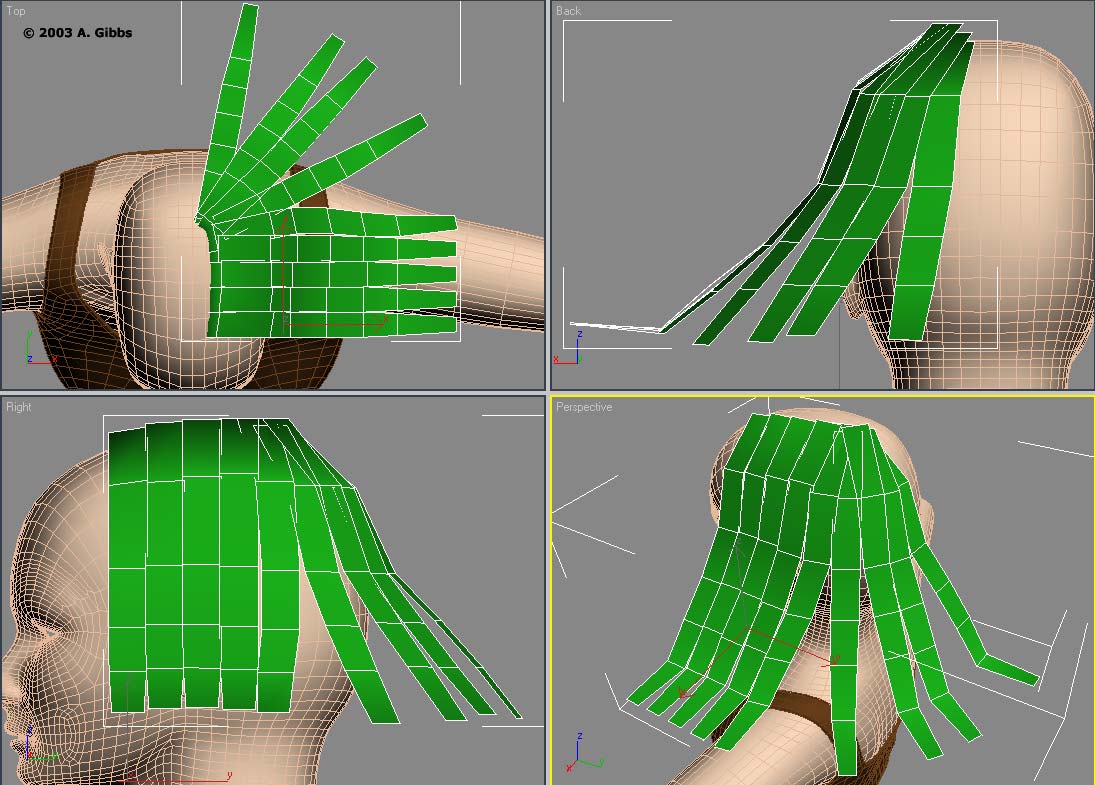
Figure 12

Figure 13
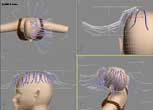
Figure 14 |
To produce good-looking hair, you will need more then just the top
layer. For my model I had 3 levels of layers, the one I just went
through above which travels from the very top of the head to the maximum
length. The next layer down, which sits under and down just a little
from the top of the head and is also a bit shorter, stopping a bit
past the shoulders (figure 12).
The next layer down is to act as almost an undercoat, its generally
a segment less then the other two layers and sits on the side of the
head underneath the other two to fill out the hair (figure
13). A final very thin layer was added on top of all the others
to give the impression that there are real strands of hair (figure
14). For each layer the same SimCloth procedure as above needs
to be followed. However, chances are that once you find the settings
that work for the first layer, they can be used for all the others.
|
| CONCLUSION |
|
That pretty well covers the modelling stage of creating hair. In
my case I still found that the hair was just a little thin all round,
so I made another copy of the very top layer and moved it along and
down a very little bit to give the hair some more thickness. Another
thing to watch out for is when all the layers are in place, you may
find that some hair strips poke through or cut across other strips,
sometimes through those on other layers. It's best to try and tweak
those vertices till they no long stick through. Make sure to do any
final adjustments with a meshsmooth modifier, since that's how the
hair will be rendered in the end. It can take some time to tweak and
adjust all the settings and vertices till things start to look right.
As it stands, mine also still needs a lot of tweaking, since while
it tends to look OK from a distance, the illusion starts to break
down once you get closer to the face.
Next, we will look at the texturing stage
for the hair and after that the options for animation.
Note
On top of experimenting, make sure to have a good read of the help file for SimCloth as it details what effect each setting will have to the simulation.
|
| |
|
| Page 1 |
2 | 3 |
|