

|

A Head of Hair - Part 2 (A Little Bit of Texture)
| Page
1 | 2 |
3 |
| Step
20 |

Figure 21
Figure 22 |
In the Specular
Level, apply a Mask map. As part of the Mask map, you have map to
define where the specular will appear and a mask that will prevent
any specular highlights from appearing. In essence, both of these
maps channels and the top level Opacity channel are a copy of each
other with one little difference. In all cases you apply a Bitmap
map and use the "hair_long2.tif" image that we just created in Photoshop.
In my case I used tiling in the U direction and set it to 1.56, this
is something you will have to experiment with for your model. Once
again it is set to Map Channel 1, just like the Gradient colour (figure
21). This same basic Bitmap is used in three places. It is used
in both Map and Mask as part of the overall Mask map type that is
applied to the Specular Level channel. It is also used directly as
a Bitmap in the Opacity channel. The single difference between these
three Bitmap maps, is that within the Output rollout of the Map part
of the main Mask Map type, you need to make sure that the Invert box
is checked. You can see the complete Material/Map tree in the material
browser (figure 22). |
| Step
21 |
Figure 23 |
One last thing
needs to be done and that is under the SuperSampling rollout at the
top of the Material tree. Unfortunately turning on the Super-Sampler
will have a dramatic increase in render times. Especially any renders
that have a large portion of hair filling the screen, this will really
slow things down. However, due to the fine details in opacity, it
is very necessary to turn it on in order to avoid very bad and noticeable
pattern. After some testing I found that the "Adaptive Halton" produced
the best outcome (figure 23). |
| Step
22 |

Figure 24 |
This material
was then applied to the Mid and Top hair layers. The material was
also copied in the Material Editor, renamed to Hair_Under and applied
to the Under hair layer. The only change that was made to the Hair_Under
was in the Diffuse Colour channel. The colours of the Gradient map
were made darker. The material was copied once more and named Hair_Long_Thin.
This is again much the same material, except this time, we need to
create one more opacity bitmap. Since it's for the long thin strands
of hair, it doesn't need to be very wide or have many painted "hairs".
Mine was 15 pixels wide and 600 long and will replace all the bitmap
images in the hair material. Pretty much all the settings are left
the same, but you may want to play around with the Tiling number a
little (figure 24). |
| CONCLUSION |
|
Well, that's
just about it, once again you can experiment with some of the settings,
like Tiling and maybe some Noise options to break things up a little.
You can also try a few different Opacity maps, maybe different lengths
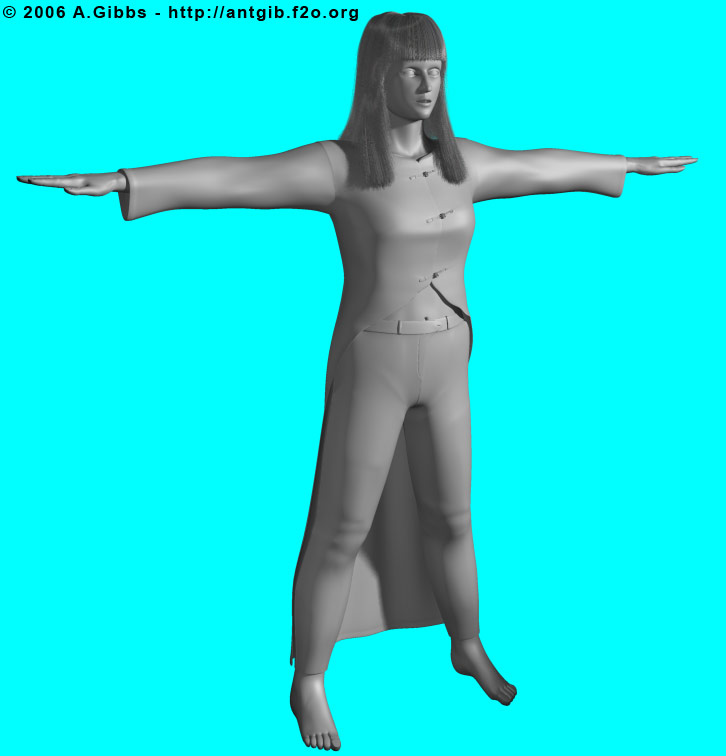
or numbers of painted hairs. A recent render of Marie, with tweaked
hair and test skin shader ca be seen here.
So with that
all done, the next stage is animation options, and this is were
things can get a little messy. |
| |
|
| Page
1 | 2 |
3 |
|