


|

A Head of Hair - Part 2 (A Little Bit of Texture)
| Page 1 | 2 | 3 |
| Note: All thumbnails will open a new
window with a larger image. |
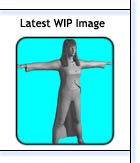
| Now that the fun part of modelling is out of the way
(see Part 1), its time to add some texture
and make these solid flat strips look like hair. You have a couple
of approaches, but in the end I have so far only had to paint two
bitmaps, all the rest is done in the Material Editor. This results
in 3 hair materials, which are all basically the same with small changes
required for each hair layer.
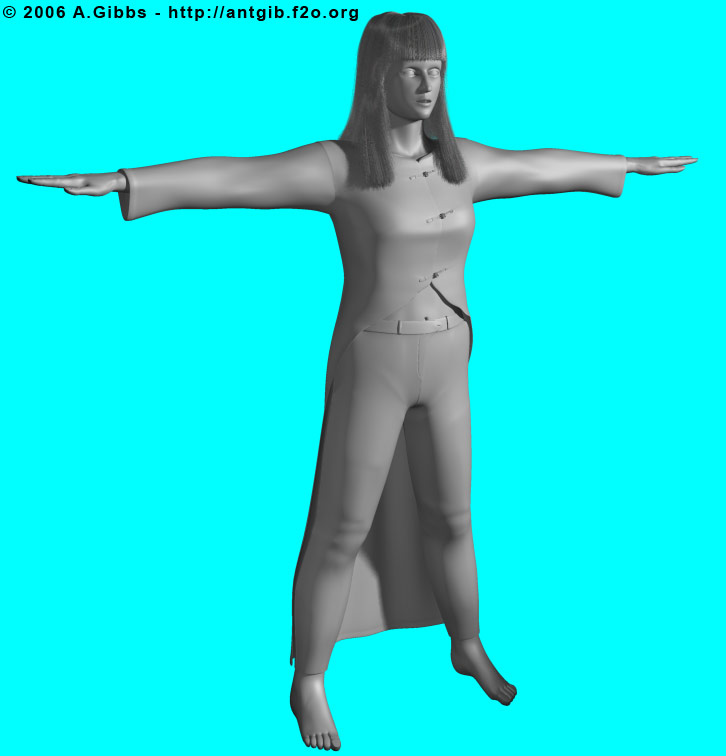
So, before we get to the actual materials, lets have a quick look at were the model should be at and label the parts to make it easier to refer too for material creation.
|
| Step 12 |
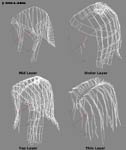
Figure 15
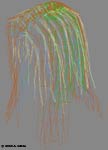
Figure 16 |
Once I had finished the modelling, I ended up with 4 layers of hair;
they are the Mid Layer, Under Layer, Top Layer and Thin Layer (figure
15). You can see them all (sort of) in figure
16, with:
Mid = Blue
Under = Green
Top = Brown
Thin = Yellow
As it turned out, I only needed to paint 2 opacity maps, one wide for the three main layers, and a skinny one for the thin layer.
|
| Step 13 |
|
As I just said, you will need to paint two bitmaps, both of which will act primarily as opacity maps. An opacity map is a way to make parts of an object transparent, or in our case, to simulate strands of hair. The image is only grayscale, with anything that is black being 100% see-through (transparent) and anything white, being 100% solid (opaque). Any shade of gray will be partly transparent. With that in mind its time to leave 3ds max for a bit and switch to the single most essential and used software in 3D, Photoshop.
Now I am not going to cover Photoshop, if you don't know how to use
it, then go over the help file, get a book or check out web sites.
One place to find a good initial overview of Photoshop is the free
video training at www.3dbuzz.com. |
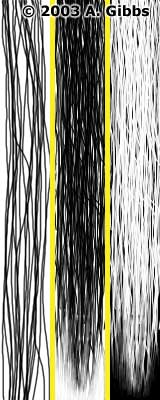
| Step 14 |
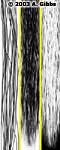
Figure 17
|
Create a new grayscale image file in Photoshop, with a white background.
For the main hair layers, I made mine 100 pixels wide and 800 long.
With the paint brush tool, set around 3-5 pixels wide, paint a series
of lines from top to bottom on a new layer. I used a Wacom tablet
to do mine but for this simple texturing the mouse should be fine.
Chances are you will have a lot of white background showing through,
that's OK, don't try to make a think painting of hair on one Photoshop
layer. Instead, once you have a basic layer that you are happy with,
duplicate that layer and then slide it from side to side to make the
"hair" more thicker. I ended up with about 6 layers. The first image
in figure 17 shows a single hair layer. |
| Page 1 | 2 | 3 |
|